
JMUG #33 Notionで夏休みの宿題もJNUCもというイベントで 新しくできたApple Business ManagerのAPIを使ってNotion DBに端末一覧を作ってみた というタイトルで登壇したのですが、その際に下記のようなGASのツールを作りました。
Cursor等で作ってももちろんいいのですが、本記事では検証も兼ねて Gemini Canvas をつかってこんな風に作ってみたというのを簡単に解説します。


基本的な流れとしては
Canvas で生成したコードを スクリプトエディタの画面に貼り付けていく
を繰り返していきます。
手動でスクリプトエディタの画面のコードを手動で直した方が早そうな時は
直したスクリプトエディタの画面のコードを Canvas 側に貼り直します。
これらを繰り返すことで完成に近づけていきます。
全部のやり取りを書いているわけじゃないのですがこんな感じで書いているよーというのが分かれば幸いです。
ベースのGASを作る
下記のようなプロンプトで情報を与えつつベースのコードを書いてもらいます。
ポイントは少しずつ完成形に近づけることです。最初からすべてを実現できるプロンプトにする必要はありません。
そのため、アクセストークンの取得等の処理は後で書いてもらうで良い、と指示を出しています。
Apple Business Manager の API(https://developer.apple.com/documentation/applebusinessmanagerapi)
を使ってデバイス情報をスプレッドシートに書き込むGoogle Apps Script を書いてください
デバイス情報を取得するAPI(https://developer.apple.com/documentation/applebusinessmanagerapi/get-org-devices)があります。
アクセストークンは取得済みとして仮定してコードを書いてください
※ 画像のコードは完成系なのでこの時点で出てくるコードではありません
コンテナバインドスクリプトとして作りたいので直してもらう
GASファイル単体で動くのをスタンドアロンスクリプトといい、スプレッドシートに紐づくものをコンテナバインドスクリプトといいます。
最初の私の指示だしにそこが記載されてなかったので指示を出して直してもらいます
コンテナバインドスクリプトなので開いているスプレッドシートを書き換える形にしてください

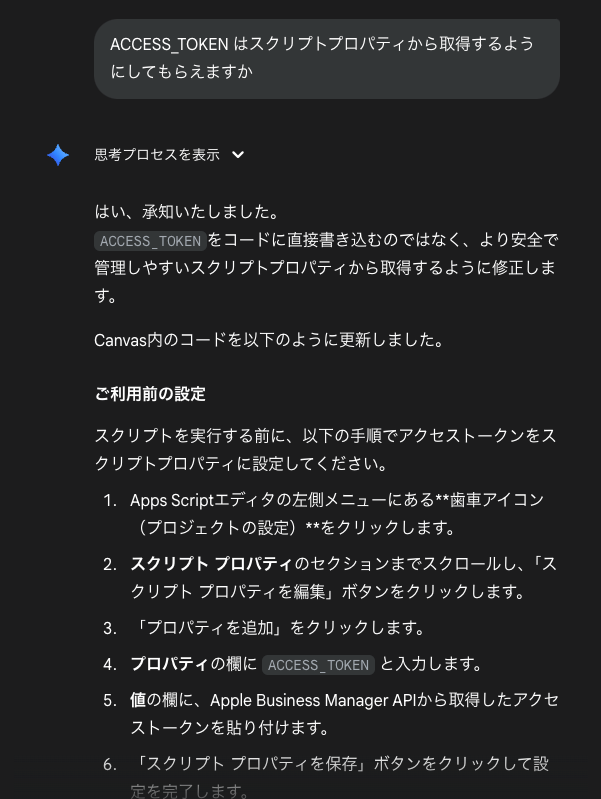
スクリプトプロパティに移す
GASのコードを自動生成するとスクリプトプロパティを使わずにコードにベタ書きでトークン等を書こうとします。
そのため、スクリプトプロパティに移してーというのを指示出しします。
ACCESS_TOKEN はスクリプトプロパティから取得するようにしてもらえますか
実行してみたらAPIのリクエストがエラーになったので手動で指示出しします
細かいところでAIが正しく設定できないこともあります、コードを手動でURLを書き換えてもいいのですが今回は依頼して直してもらいました。
デバイス取得のURLは
https://api-business.apple.com/v1/orgDevices
です
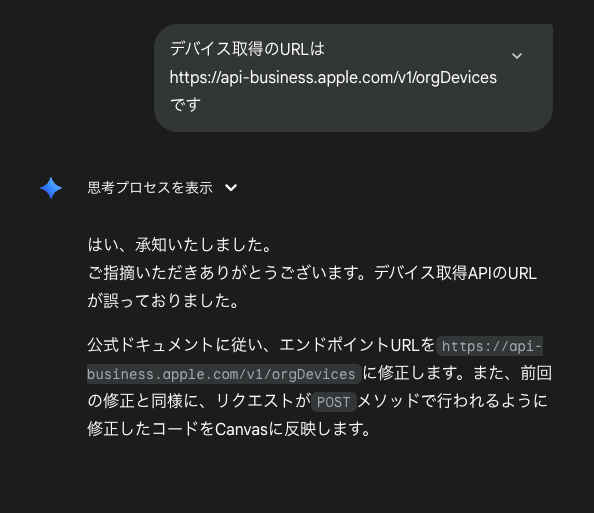
誤字とかは気にせずに進めて大丈夫です
AIは賢いので多少のこの手の誤字があっても解釈してくれます、きれいな文章を作ろうとせずに依頼していきましょう。
https://api-business.apple.com/v1/orgDevicesを余分時にlimit =1000を入れてください

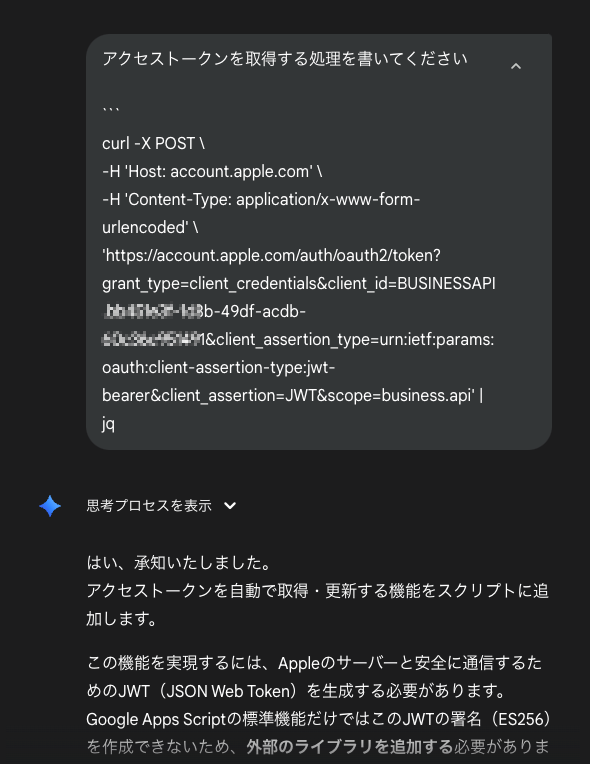
アクセストークンがベタ書きになっているので取得する処理を書いてもらう
Curlコマンドが公式ドキュメントのサンプルにあったので、それを渡してGASで書いてもらいました。
アクセストークンを取得する処理を書いてください

Curlコマンドの例
Notionに登録する処理を書いてもらう
これぐらい適当なプロンプトでも解釈して書いてくれました。
Notion の特定のDBにこのスプレッドシートの行を1ページとして書き込む処理

完成
参考前に完成したコードを貼っておききます。
本記事で書いてないやり取りが5つぐらいあり、手動でコードを直したのも何回かあった、という感じです。
/**
 * @fileoverview Fetches device information from Apple Business Manager API,
 * writes it to a Google Spreadsheet, and syncs it to a Notion database.
 * @version 3.0
 */

// --- 事前設定 ---
// 1. Apps Scriptエディタの左メニューから「プロジェクトの設定」(歯車アイコン)をクリックします。
// 2. 「スクリプト プロパティ」セクションで以下のプロパティを設定します。
//    - ABM_CLIENT_ID: (例: BUSINESSAPI.xxxxxxxx-xxxx-xxxx-xxxx-xxxxxxxxxxxx)
//    - ABM_CLIENT_ASSERTION: API認証用のJWT文字列
//    - NOTION_API_KEY: Notionの内部インテグレーションシークレット
//    - NOTION_DATABASE_ID: 同期対象のNotionデータベースID

// --- スクリプト本体 ---

/**
 * スプレッドシートを開いたときにカスタムメニューを追加します。
 */
function onOpen(e) {
  SpreadsheetApp.getUi()
      .createMenu('ABM・Notion連携')
      .addItem('1. ABMアクセストークンを更新', 'updateAccessToken')
      .addSeparator()
      .addItem('2. デバイスリストを取得', 'fetchAndWriteAppleDevices')
      .addSeparator()
      .addItem('3. Notion DBへ同期', 'syncToNotion')
      .addToUi();
}


/**
 * スクリプトプロパティのJWTを使い、Appleからアクセストークンを取得して保存します。
 */
function updateAccessToken() {
  const ui = SpreadsheetApp.getUi();
  try {
    const props = PropertiesService.getScriptProperties();
    const clientId = props.getProperty('ABM_CLIENT_ID');
    const clientAssertion = props.getProperty('ABM_CLIENT_ASSERTION');

    if (!clientId || !clientAssertion) {
      throw new Error('スクリプトプロパティに `ABM_CLIENT_ID` または `ABM_CLIENT_ASSERTION` が設定されていません。');
    }

    const tokenUrl="https://account.apple.com/auth/oauth2/token";
    const payload = {
      'grant_type': 'client_credentials',
      'client_id': clientId,
      'client_assertion_type': 'urn:ietf:params:oauth:client-assertion-type:jwt-bearer',
      'client_assertion': clientAssertion,
      'scope': 'business.api'
    };

    const options = {
      'method': 'post',
      'contentType': 'application/x-www-form-urlencoded',
      'payload': payload,
      'muteHttpExceptions': true
    };

    Logger.log(`アクセストークンをリクエストします: ${tokenUrl}`);
    const response = UrlFetchApp.fetch(tokenUrl, options);
    const responseCode = response.getResponseCode();
    const responseBody = response.getContentText();

    if (responseCode !== 200) {
      throw new Error(`トークンの取得に失敗しました (Code: ${responseCode}): ${responseBody}`);
    }

    const result = JSON.parse(responseBody);
    const accessToken = result.access_token;

    if (!accessToken) {
      throw new Error('レスポンスにアクセストークンが含まれていません。');
    }

    // 取得したアクセストークンをスクリプトプロパティに保存
    props.setProperty('ABM_ACCESS_TOKEN', accessToken);
    ui.alert('成功', '新しいアクセストークンを取得し、保存しました。', ui.ButtonSet.OK);

  } catch (e) {
    Logger.log(e);
    ui.alert('エラー', `アクセストークンの取得中にエラーが発生しました。\n\n${e.message}`, ui.ButtonSet.OK);
  }
}

/**
 * メイン関数:APIからデバイス情報を取得し、現在開いているスプレッドシートに書き込みます。
 */
function fetchAndWriteAppleDevices() {
  // スクリプトプロパティからアクセストークンを取得
  const ABM_ACCESS_TOKEN = PropertiesService.getScriptProperties().getProperty('ABM_ACCESS_TOKEN');

  const ui = SpreadsheetApp.getUi();

  // アクセストークンが設定されているか確認
  if (!ABM_ACCESS_TOKEN) {
    ui.alert('スクリプトプロパティに `ABM_ACCESS_TOKEN` が設定されていません。\n\n左メニューの「プロジェクトの設定」(歯車アイコン)からアクセストークンを設定してください。');
    return;
  }

  // 現在開いているスプレッドシートを取得
  const spreadsheet = SpreadsheetApp.getActiveSpreadsheet();
  const sheetName="デバイスリスト";
  let sheet = spreadsheet.getSheetByName(sheetName);

  // 'デバイスリスト'という名前のシートがなければ作成、あればクリア
  if (!sheet) {
    sheet = spreadsheet.insertSheet(sheetName);
  } else {
    sheet.clear();
  }

  // 処理対象のシートをアクティブにする
  spreadsheet.setActiveSheet(sheet);

  Logger.log(`アクティブなスプレッドシートの「${sheetName}」シートに書き込みを開始します。`);

  try {
    // ヘッダー行を定義して書き込み
    const headers = [
      'id', 'デバイスモデル', 'シリアル番号', 'ソース', '注文番号', 'パート番号', 'ストレージ', 'MEID', 'IMEI', 'CSN/EID', 'status', 'color', '追加日'
    ];
    sheet.appendRow(headers);
    sheet.getRange('A1:M1').setFontWeight('bold'); // ヘッダーを太字に

    let cursor = null;
    let hasMore = true;
    let totalDevices = 0;

    // ページネーション対応:cursorがある限りループして全デバイスを取得
    while (hasMore) {
      const response = callDeviceApi(cursor, ABM_ACCESS_TOKEN);
      const devices = response.data;

      if (devices && devices.length > 0) {
        // 取得したデバイス情報をスプレッドシートに書き込む
        const rows = devices.map(device => {
          const attrs = device.attributes;
          return [
            maskLastFourChars(device.id|| ''),
            attrs.deviceModel || '',
            maskLastFourChars(attrs.serialNumber || ''),
            attrs.purchaseSourceType || '',
            maskLastFourChars(attrs.orderNumber || ''),
            attrs.partNumber || '',
            attrs.deviceCapacity || '',
            (attrs.meid || []).map(val => maskLastFourChars(val)).join('\n'),
            (attrs.imei || []).map(val => maskLastFourChars(val)).join('\n'),
            maskLastFourChars(attrs.eid || ''),
            attrs.status || '',
            attrs.color || '',
            attrs.orderDateTime ? new Date(attrs.orderDateTime) : ''
          ];
        });

        sheet.getRange(sheet.getLastRow() + 1, 1, rows.length, headers.length).setValues(rows);
        totalDevices += devices.length;
        Logger.log(`${devices.length}件のデバイス情報を書き込みました。合計: ${totalDevices}件`);
      }

      // 次のページのカーソルを設定
      console.log(response.meta)
      if (response.meta.paging.nextCursor) {
        cursor = response.meta.paging.nextCursor;
        Logger.log(`次のページを読み込みます... (cursor: ${cursor})`);
      } else {
        hasMore = false;
      }
    }

    // 列幅を自動調整
    for (let i = 1; i  {
      obj[header] = i;
      return obj;
    }, {});

    ui.alert('Notionへ同期開始', `合計 ${data.length} 件のデータを同期します。完了までお待ちください。`, ui.ButtonSet.OK);

    let successCount = 0;
    let errorCount = 0;

    data.forEach((row, index) => {
      try {
        const notionProperties = {};
        for (const propName in propertyMapping) {
          const mapping = propertyMapping[propName];
          const colIndex = headerMap[mapping.column];
          const cellValue = row[colIndex];

          if (cellValue === undefined || cellValue === '') continue;

          // Notion APIのペイロードを作成
          switch (mapping.type) {
            case 'title':
              notionProperties[propName] = { title: [{ text: { content: cellValue.toString() } }] };
              break;
            case 'rich_text':
              notionProperties[propName] = { rich_text: [{ text: { content: cellValue.toString() } }] };
              break;
            case 'date':
              notionProperties[propName] = { date: { start: new Date(cellValue).toISOString() } };
              break;
          }
        }

        // デバイスモデルからアイコンを決定
        const deviceModel = row[headerMap['デバイスモデル']];
        const icon = getDeviceIcon(deviceModel);

        callNotionCreatePageApi(notionKey, databaseId, notionProperties, icon);
        successCount++;
        Utilities.sleep(350);
      } catch (e) {
        errorCount++;
        Logger.log(`行 ${index + 2} の同期に失敗しました: ${e.message}`);
      }
    });

    ui.alert('同期完了', `同期が完了しました。\n成功: ${successCount}件\n失敗: ${errorCount}件`, ui.ButtonSet.OK);

  } catch (e) {
    Logger.log(e);
    ui.alert('エラー', `Notionへの同期中にエラーが発生しました。\n\n${e.message}`, ui.ButtonSet.OK);
  }
}

/**
 * Notion APIを呼び出してページを作成します。
 * @param {string} apiKey - Notion APIキー
 * @param {string} dbId - Notion データベースID
 * @param {Object} properties - ページのプロパティ
 * @param {?Object} icon - ページのアイコンオブジェクト (例: { type: "emoji", emoji: "📱" })
 */
function callNotionCreatePageApi(apiKey, dbId, properties, icon) {
  const url="https://api.notion.com/v1/pages";
  const payload = {
    parent: { database_id: dbId },
    properties: properties
  };

  if (icon) {
    payload.icon = icon;
  }

  const options = {
    method: 'post',
    contentType: 'application/json',
    headers: {
      'Authorization': `Bearer ${apiKey}`,
      'Notion-Version': '2022-06-28'
    },
    payload: JSON.stringify(payload),
    muteHttpExceptions: true
  };

  const response = UrlFetchApp.fetch(url, options);
  const responseCode = response.getResponseCode();
  const responseBody = response.getContentText();

  if (responseCode !== 200) {
    throw new Error(`Notion APIリクエストに失敗しました (Code: ${responseCode}): ${responseBody}`);
  }
}

/**
 * 文字列の末尾4文字をアスタリスクでマスキングします。
 * @param {string} value - マスキング対象の文字列
 * @returns {string} マスキング後の文字列
 */
function maskLastFourChars(value) {
  if (typeof value !== 'string' || value.length
会話ベースで指示を出すにはコードを書ける力はもちろん一定必要なのですが、コードを書くという敷居はだいぶ下がったなぁと思います。
Cursor等のエディタを使わなくてもブラウザ上の Gemini Canvas だけで十分書けます。
筆者はGASを10年近く書いていますが、過去作ってきたものの9割ぐらいのGASアプリケーションはGemini Canvas だけで書けると思います。
GASは難しそうだからで書いたこなかった方もぜひチャレンジしてみるといいんじゃないかなぁと思います。
Views: 0
