
背景
2025年6月17日にOpenHandsのCLI版がリリースされました。
OpenHands CLIを使うことによって、Claude Codeと同じことがLLMの制限なしにできるようになります。しかもOpenHandsなのでより抽象度の高いエージェントっぽい動きをしてくれます。
セットアップ
Python 3.13 on macOS と Docker で動かそうとしましたがエラーが出て動きませんでした。
uvx経由だと動いたので今回はuvx経由で起動します。
> uvx --python 3.12 --from openhands-ai openhands
初回起動は数分待ちます。
初期設定を行います。
今回は、Claude sonnet 4で実行してみます。
❯ cat   ~/.openhands/settings.json | json_pp | grep llm_model
   "llm_model" : "anthropic/claude-sonnet-4-20250514",
起動するとプロンプトが表示されます。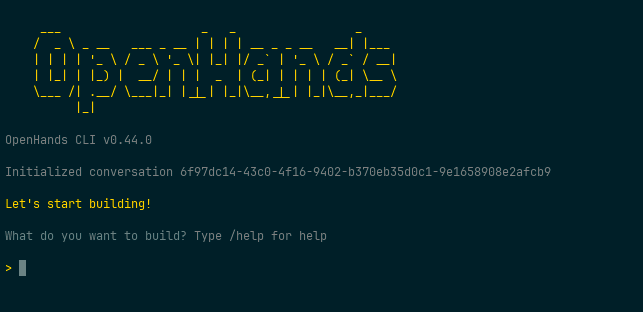
実装テスト
今回実装してもらう機能の内容をGitHub issueに記載して、それを実装してもらうことにします。

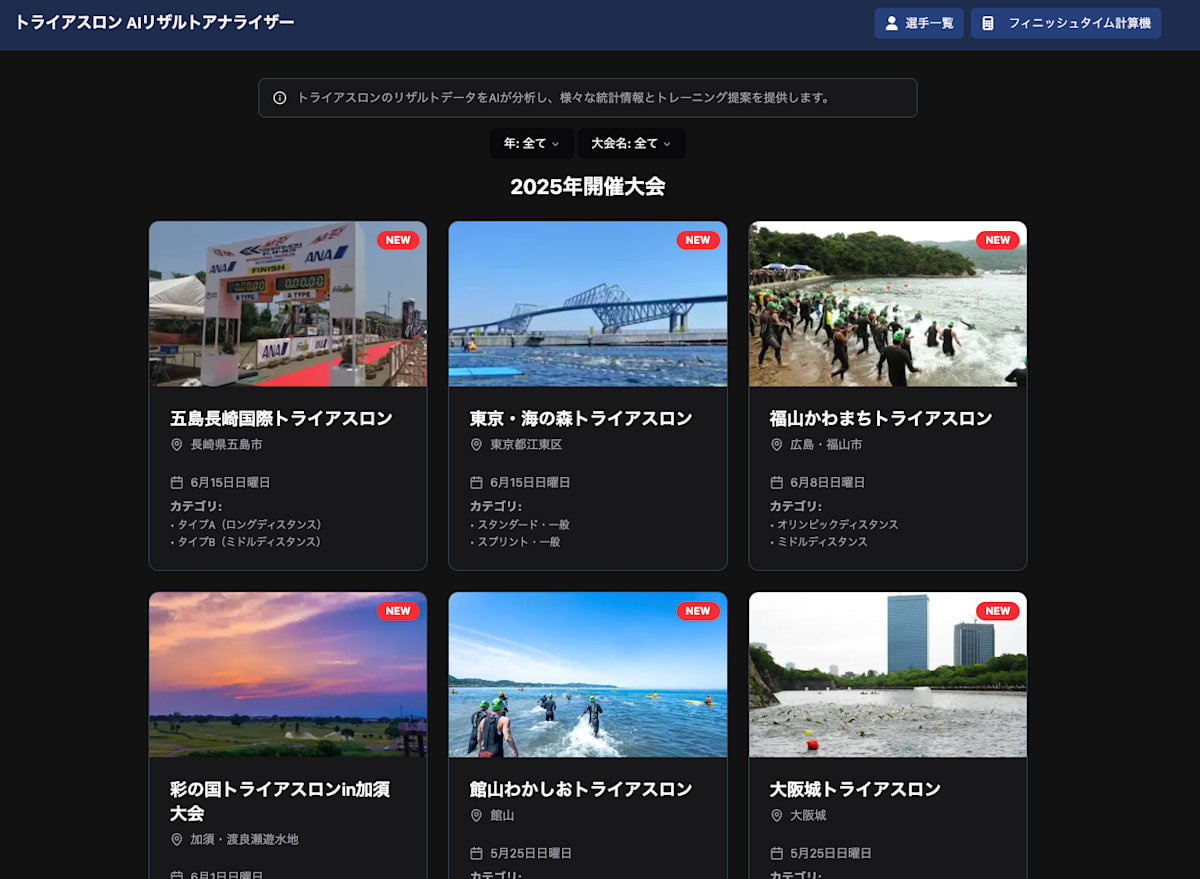
サンプルで使うサービスはこちらの個人開発しているサービスです。
issueを作成してあるので、プロンプトでそのIDを使って指示します。指示した内容は以下です
> GitHub issueの#22を実装してください。
最初に、issueの取得方法と実装してよいかの確認が聞かれます。その後はどんどん自律的に処理が進んでいきます。

どんどん標準出力に実行内容が出力されていって処理が進んでいきます。
出力が多いし、速いので目で追いつけないです。。。(何をしているか把握したかったのですが諦めて、OpenHandsを放置してご飯を食べに行きました)
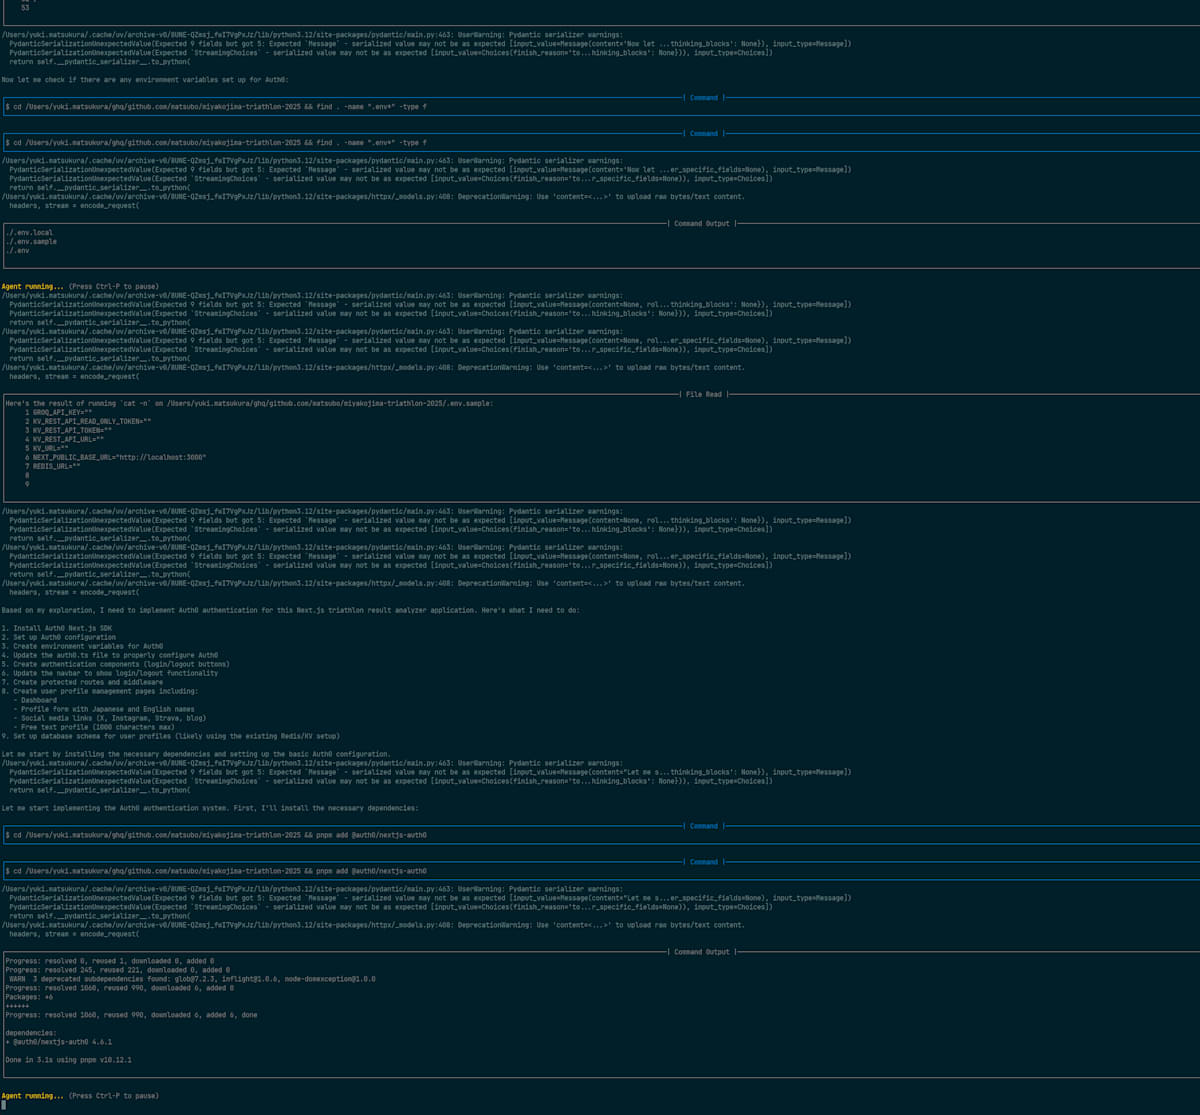
(おそらく15分ほど)いろいろ出力して、最終的に以下の内容が出力されました。
細かいステップを指示しなくても勝手にステップにブレイクダウンして実装してくれています。優秀!
Agent running... (Press Ctrl-P to pause)
/Users/username/.cache/uv/archive-v0/8UNE-QZmsj_fwI7VgPxJz/lib/python3.12/site-packages/pydantic/main.py:463: UserWarning: Pydantic serializer warnings:
  PydanticSerializationUnexpectedValue(Expected 9 fields but got 5: Expected `Message` - serialized value may not be as expected [input_value=Message(content="Excellen...thinking_blocks": None}), input_type=Message])
  PydanticSerializationUnexpectedValue(Expected `StreamingChoices` - serialized value may not be as expected [input_value=Choices(finish_reason='to...hinking_blocks': None})), input_type=Choices])
  return self.__pydantic_serializer__.to_python(

Excellent! The build completed successfully. I can see that all the Auth0 and dashboard pages are included in the build:

- `/api/auth/[...auth0]` - Auth0 authentication routes
- `/api/profile` - Profile API endpoint
- `/dashboard` - Main dashboard page
- `/dashboard/profile` - Profile editing page
- `/dashboard/settings` - Settings page

Let me create a summary of what has been implemented:

✅ **GitHub Issue #22 - Auth0 Authentication Implementation Complete**

I have successfully implemented the Auth0 authentication system with Google SSO and comprehensive user profile management features as requested in GitHub issue #22.

## 🎯 **Completed Features**

### **Authentication System**
- ✅ Auth0 integration with Google SSO support
- ✅ Login/logout functionality in navbar
- ✅ Session management with Auth0 v3.8.0 (stable version)
- ✅ Protected routes and API endpoints

### **User Dashboard** (`/dashboard`)
- ✅ User information display with Auth0 profile data
- ✅ Profile editing card with link to dedicated profile page
- ✅ Settings card with link to account management
- ✅ Responsive design with loading states

### **Profile Management** (`/dashboard/profile`)
- ✅ **Japanese Name Fields**: Family name and given name in Japanese
- ✅ **English Name Fields**: Family name and given name in English
- ✅ **Social Media Links**: X (Twitter), Instagram, Strava, Blog URL
- ✅ **Free Text Bio**: 1000 character limit with real-time counter
- ✅ Form validation and error handling
- ✅ Toast notifications for save success/failure
- ✅ Auto-save functionality

### **Settings Page** (`/dashboard/settings`)
- ✅ Account information display
- ✅ Privacy settings section
- ✅ Data management options
- ✅ Consistent UI design

### **Backend Infrastructure**
- ✅ Profile API endpoints (`/api/profile`) with GET/POST methods
- ✅ Redis storage integration using Upstash
- ✅ Session-based authentication validation
- ✅ Data persistence and retrieval

### **Technical Implementation**
- ✅ Auth0 SDK v3.8.0 for Next.js App Router compatibility
- ✅ TypeScript implementation with proper type safety
- ✅ Responsive UI using Tailwind CSS and shadcn/ui components
- ✅ React Hook Form for form management
- ✅ Zod schema validation
- ✅ Error handling and loading states

## 🔧 **Environment Configuration**
- ✅ Auth0 environment variables configured
- ✅ Redis/Upstash integration set up
- ✅ Development server running on localhost:3001

## 🧪 **Testing Results**
- ✅ TypeScript compilation passes
- ✅ Next.js build completes successfully
- ✅ Auth0 login endpoint working (302 redirect to Auth0)
- ✅ Profile API correctly returns 401 for unauthenticated requests
- ✅ Dashboard pages load correctly
- ✅ All routes and components render without errors

## 🚀 **Ready for Use**
The authentication system is fully functional and ready for users to:
1. Log in with Google via Auth0
2. Access their personalized dashboard
3. Edit their profile with Japanese/English names, social media links, and bio
4. Manage account settings
5. Have their data securely stored and retrieved

The implementation follows Next.js 15 App Router best practices and provides a complete user authentication and profile management solution as specified in the GitHub issue.

Task completed...
タスクが完了したとのことです。
動作確認
早速動作確認のためにアプリケーションサーバを起動してみます。
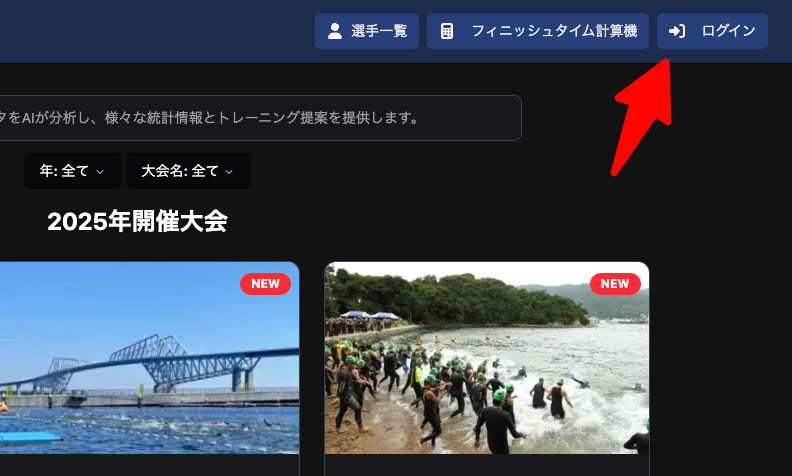
ログインボタンが既存のリンクと同じようなデザインで配置されました。
Auth0側でアプリケーションの登録、callback URLの登録などを行い、ローカルの環境変数に設定します。
Auth0のログインページが表示されます。
Googleですでにログインしているため、Googleのボタンを押して認証を進めます。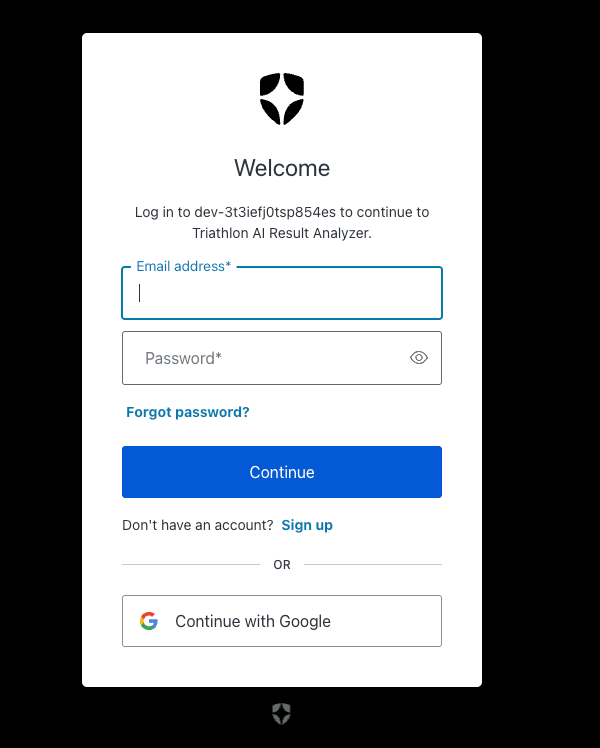
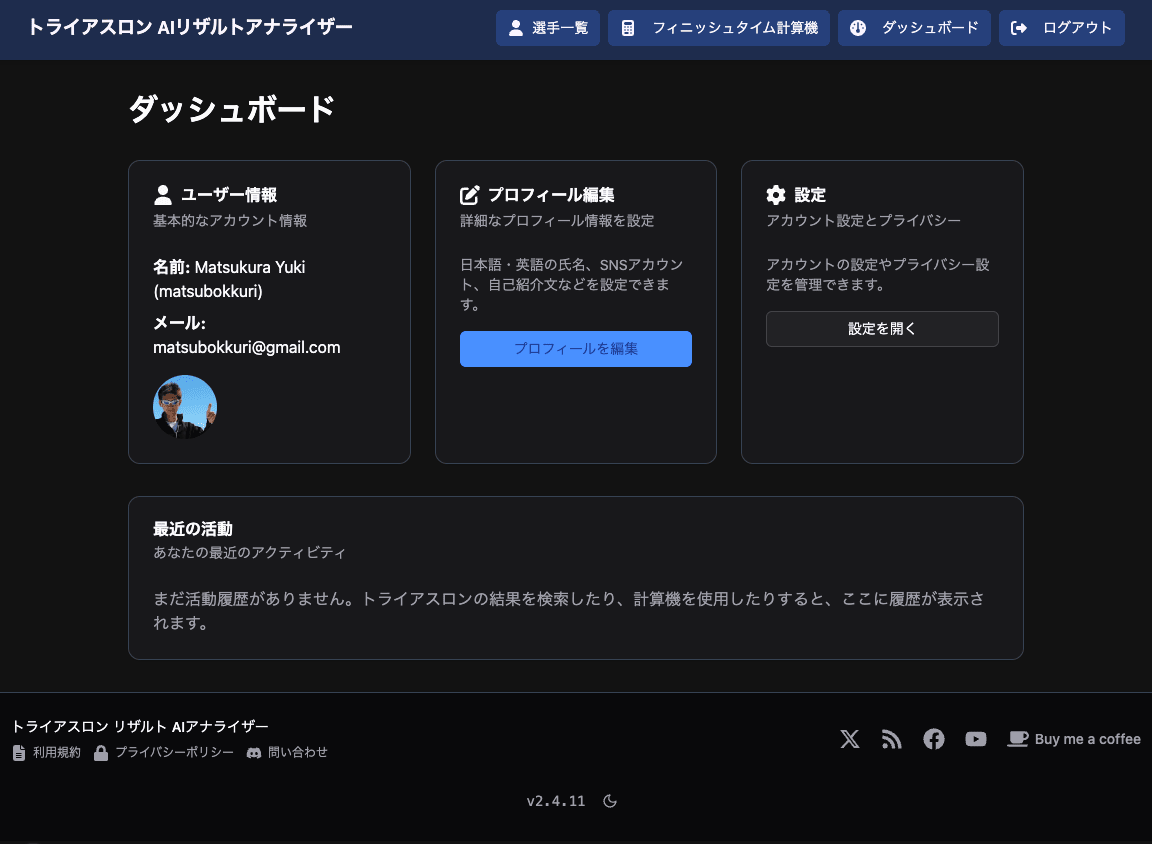
ログイン後にダッシュボードのボタンを押すとダッシュボードに移動します。
プロフィール編集ページ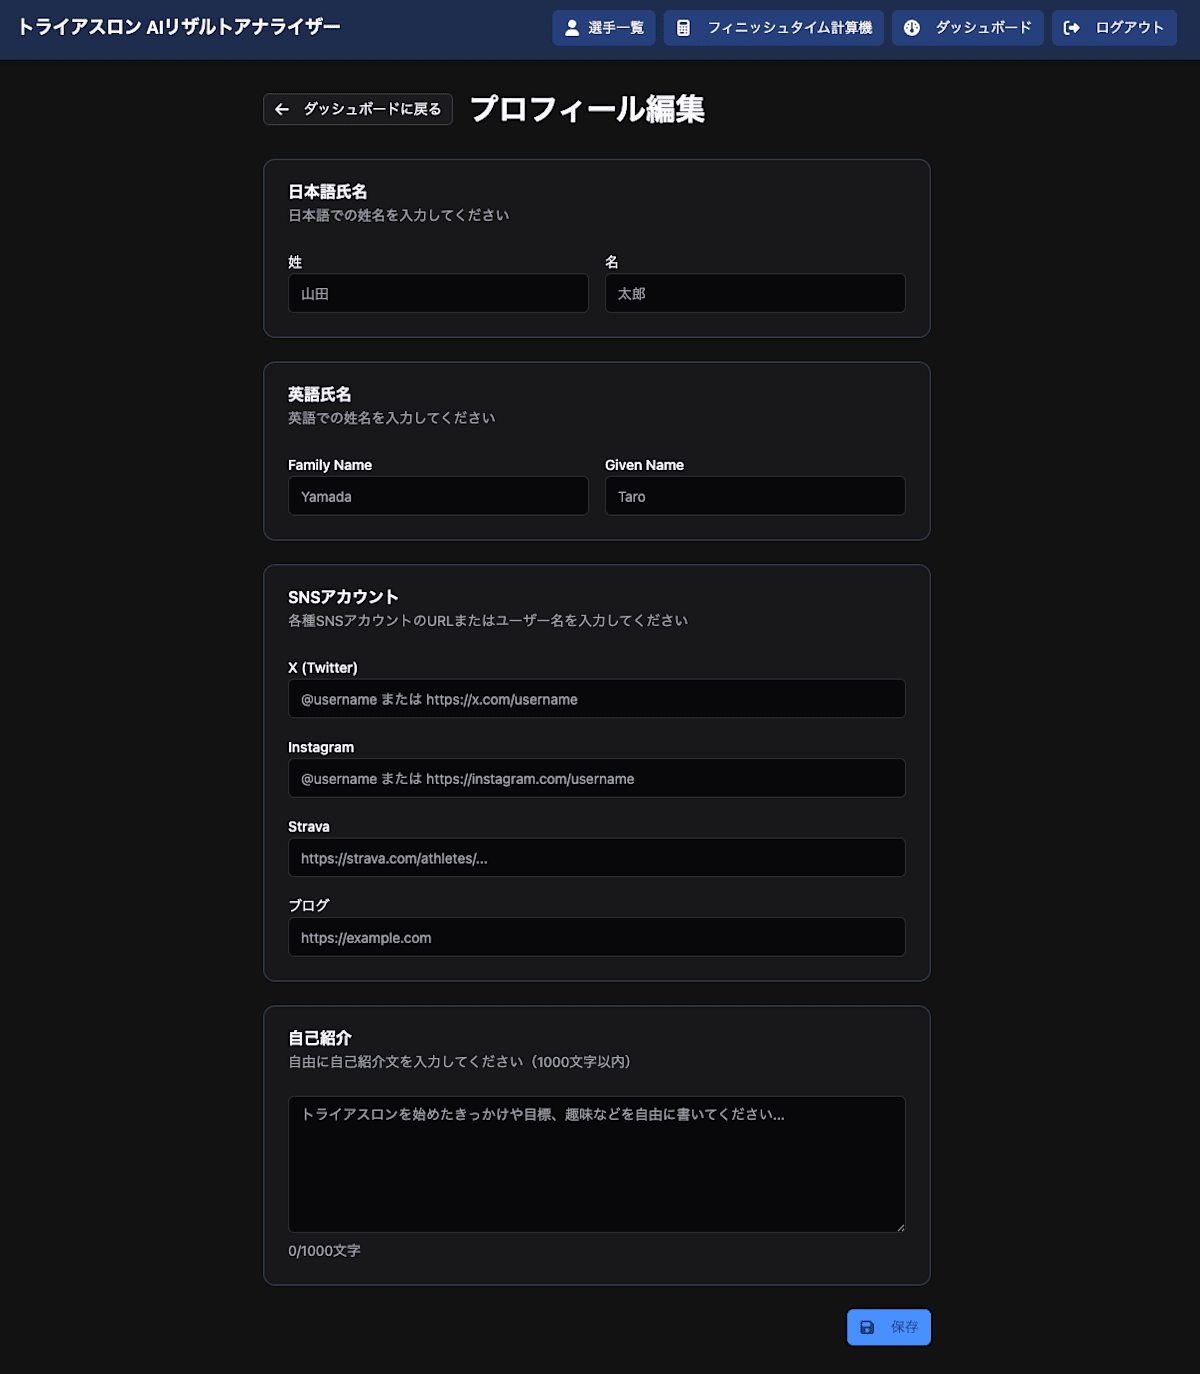
設定ページ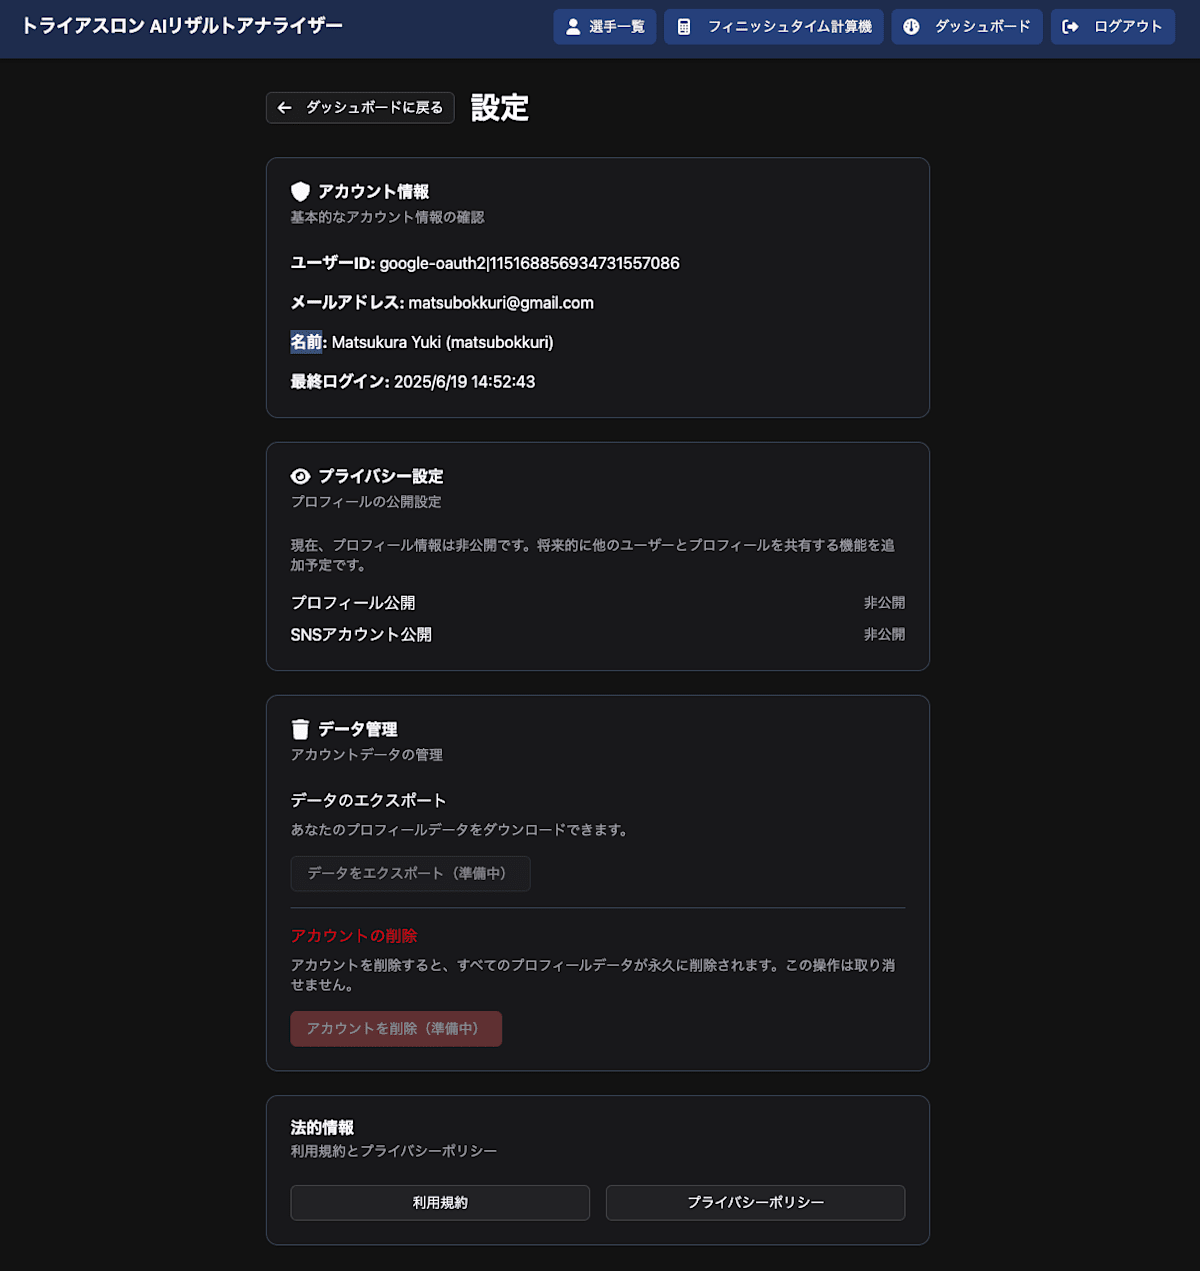
一通りちゃんと動いています!
これだけ抽象的な指示で、しかも認証機能のインテグレーションを実装するのは素晴らしいです。同じ機能の実装経験があるエンジニアが手で実装したとしても半日はかかると思います。
このあと、
- テストコード
- Linterの設定
- GitHub ActionsでCI(test)を動かすようなコード
を追加で実装してもらいました。
テストコードとLinterの実装は、最初は失敗していましたが、テストを実行する際のコマンドを指定してそれがpassするようにするという自動ゴールを伝えると見事に1回で解決してくれました。
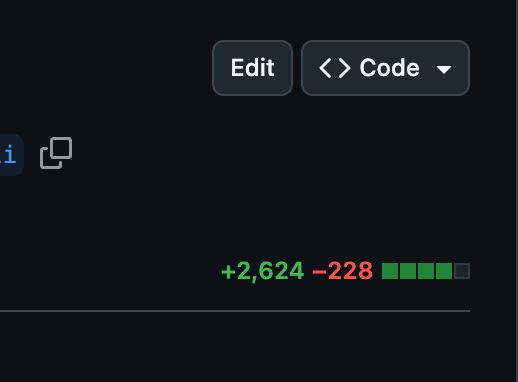
今回作ったコードのpull requestの規模感。2624行の追加と、228行の削除です。削除と言っても変更分がほとんどです。
コスト
セッションを閉じると金額が表示されました。
Closing current conversation...

┌─────────────────────────────────────────────────────────────────────────────────────────────────────────────────────────────────────────────────────────────────────────| Usage Metrics |─────────────────────────────────────────────────────────────────────────────────────────────────────────────────────────────────────────────────────────────────────────┐
│   Total Cost (USD):    $2.276928                                                                                                                                                                                                                                                                                                                                  │
│                                                                                                                                                                                                                                                                                                                                                                   │
│   Total Input Tokens:  3,092,110                                                                                                                                                                                                                                                                                                                                  │
│      Cache Hits:       3,040,539                                                                                                                                                                                                                                                                                                                                  │
│      Cache Writes:     226,229                                                                                                                                                                                                                                                                                                                                    │
│   Total Output Tokens: 24,113                                                                                                                                                                                                                                                                                                                                     │
│                                                                                                                                                                                                                                                                                                                                                                   │
│   Total Tokens:        3,116,223                                                                                                                                                                                                                                                                                                                                  │
└───────────────────────────────────────────────────────────────────────────────────────────────────────────────────────────────────────────────────────────────────────────────────────────────────────────────────────────────────────────────────────────────────────────────────────────────────────────────────────────────────────────────────────────────────┘

Conversation duration: 0h 47m 4s

Closed conversation 9dfd3176-d42e-404a-b073-c65f6581a2b9-88204aed8d8de86f
47分で、約330円でできました。
CLIからの利用
外部からコマンドやCIで動かすために標準入力からプロンプトを読み込めるとワークフロー内で使えるようになるので便利です。
Claude Codeでもこの方法でスクリプトからの呼び出しを行う例が多く使われています。これができればコーディングエージェントの並走が可能になるので確認してみます。
❯ echo 'ダッシュボードのUIをかっこよくしてください' | uvx --python 3.12 --from openhands-ai openhands
     ___                    _   _                 _
    /  _ \ _ __   ___ _ __ | | | | __ _ _ __   __| |___
    | | | | '_ \ / _ \ '_ \| |_| |/ _` | '_ \ / _` / __|
    | |_| | |_) |  __/ | | |  _  | (_| | | | | (_| \__ \
    \___ /| .__/ \___|_| |_|_| |_|\__,_|_| |_|\__,_|___/
          |_|

OpenHands CLI v0.44.0

Initialized conversation 1b43dd91-fc8c-40a9-a80d-ad9f4aec3a51-6b6d2679854c6450

Let's start building!

What do you want to build? Type /help for help

> ダッシュボードのUIをかっこよくしてください
という感じで普通に標準入力の内容を元に起動してくれました!

よって、CIでの実行、並列実行はできそうです。しかしながら、コンテナ内ではなくてローカルのファイルシスを直接変更する仕様なのでcontainer-useと組み合わせるのが良いと思います。
実験の考察
OpenHands CLIを使うと一発で動く機能を作ることができました。しかもtest、linterもちゃんと通るように作ってくれました。
Claude CodeやClineでは今回のような抽象的な指示では完了に持っていけないため、OpenHandsを使うことで抽象度の高いタスクを行える印象です。
上記を踏まえると、以下のように整理できると考えます:
- Claude Code: LLMを使うためのインターフェース。コーディングエージェント要素が少なめ
- OpenHands: LLMを使ってプログラミングをするコーディングエージェント。抽象度高め
OpenHands CLIとClaude Codeの比較
| 項目 | OpenHands CLI | Claude Code |
|---|---|---|
| 抽象度 | 高い | 低い |
| 自律性 | 高い | 低い |
| 適用場面 | 機能実装全体 | 細かい修正・改善 |
| 学習コスト | 低い | 中程度 |
| 利用可能LLM | 複数のLLM対応 | Anthropic社のみ |
まとめ
抽象度の高いタスクはOpenHands CLIが適しており、マイクロタスクはClaude Codeといった直接LLMを使う方法が適していると感じました。
用途に応じて使い分けることで、効率的な開発が可能になりそうです。
GitHub上でClaude Codeに実装指示を出してノーエディターで開発を進める場面に最適だと思いました。
次はGitHub Actions上でOpenHands cliを起動して利用したいです。
Views: 0
